Sunday, May 1, 2011

Dirty Yard Work

Today was a gorgeous sunny day and with the exception of an interview for Bri this afternoon, we had the day to get dirty and get some things accomplished.  We borrowed a pressure-washer from my parents to tackle some areas which were desperate to have the moss removed. 
Take a look at the before & after of our back driveway...

Before:
After:
We obviously need to re-stain those garage doors, but pressure washing helped a bit.
We also washed the siding of the house and the patio as shown below...
The side of the house shown below wasn't even visible before we cut that tree back, but once Bri pruned, we were left with mossy/ dirty siding.

The patio also desperately needed to be cleaned...

Clean siding, patio and driveway...

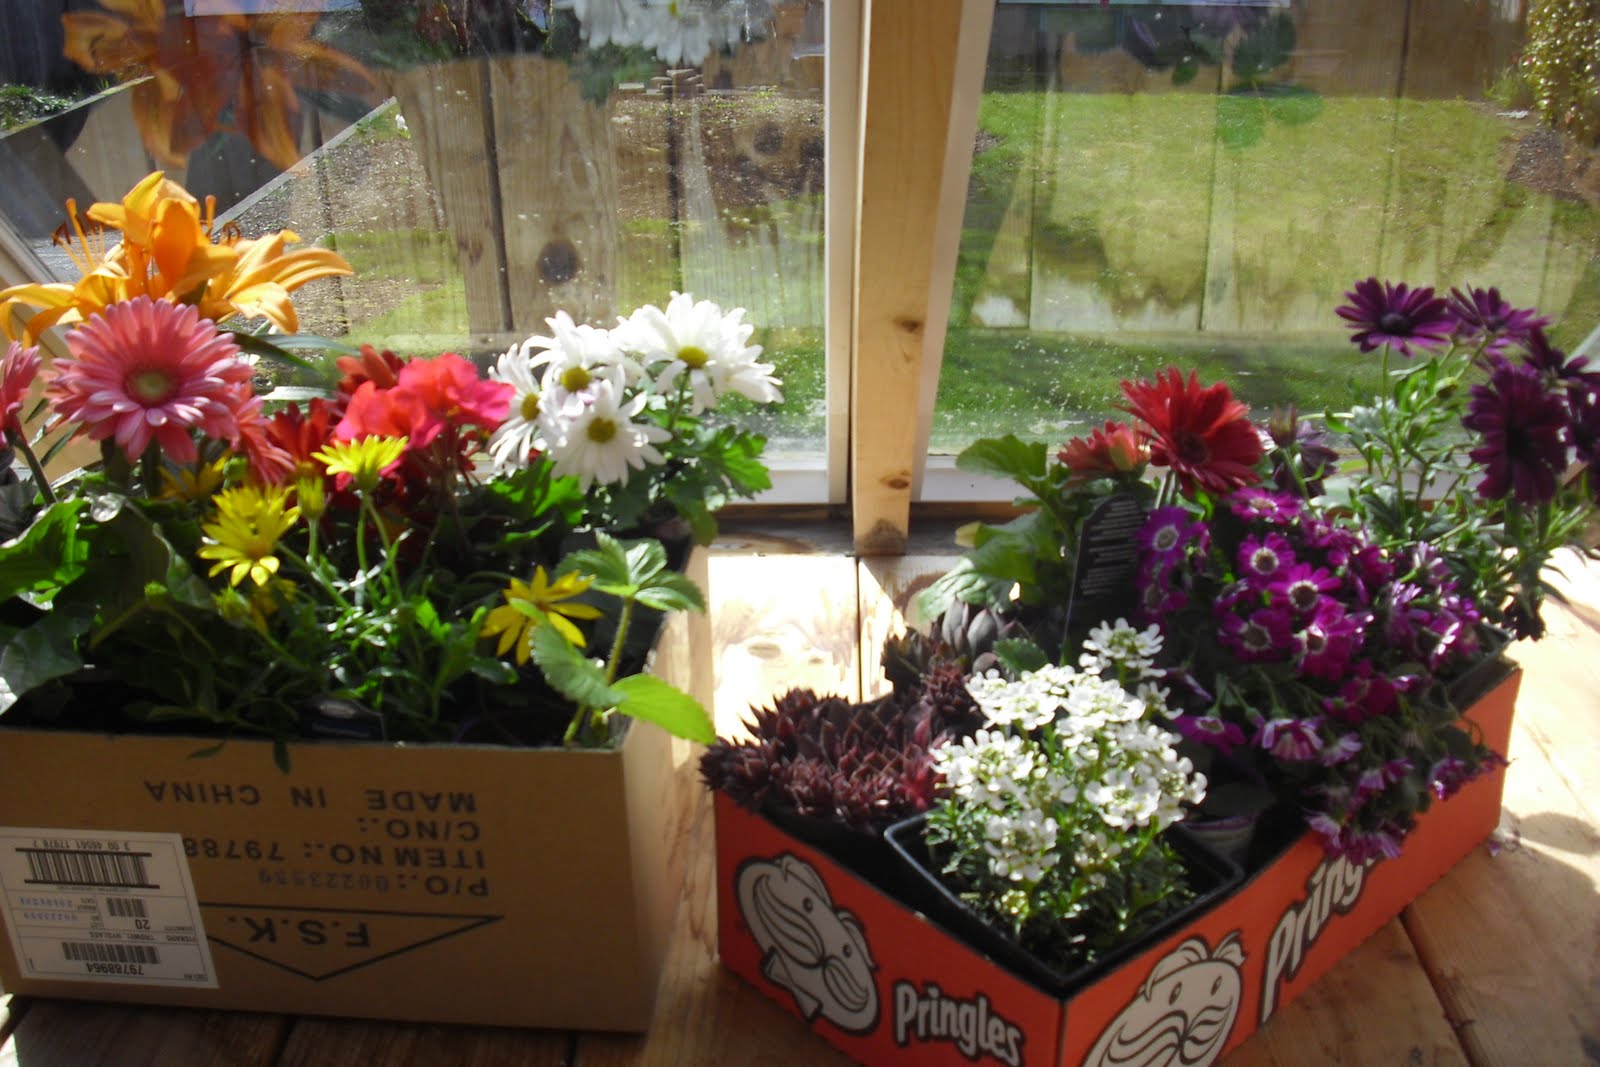
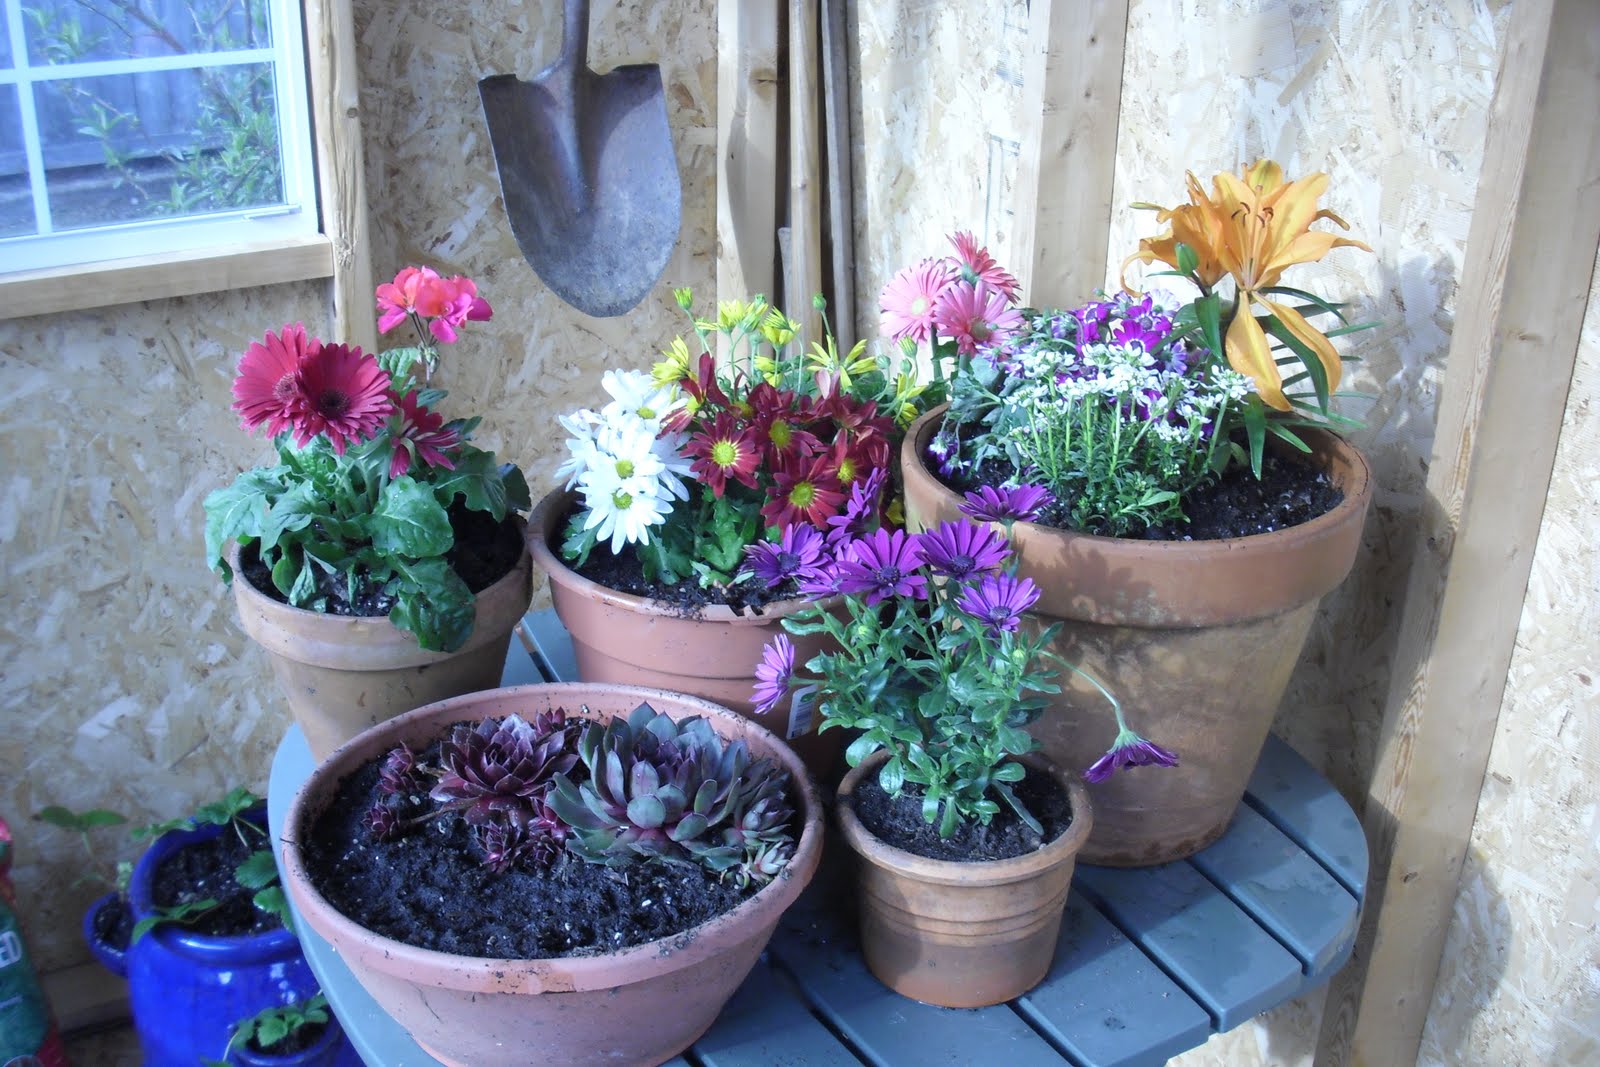
A few weeks ago now we started veggies and potted some flowers in the green house... it's finally time to bring the flowers out to the patio!  Another month or so and the veggies should be ready to be put in the ground, but they are still pluggin' along in the greenhouse.
This is from a few weeks ago when we planted...
At home in their new pots! 
A sneak peek at the veggie garden... most are already growing
And today... the flowers go outside! 


Also, because for some reason, I feel the need to decorate everything, here's a look at my rock decor.
  (I know, I can't believe I just said that either.)
Kind of hard to see, I know- but I used paint pens and sharpies to write words of inspirations and little designs.  ("Go Hawks" "Smile" "Welcome" ~ Sun, Moon, Watermelon, Flower, etc.)
When it comes to my garden, I like little touches of whimsy, I'm not into the statues of cherubs or little kids sitting on a bench together- I prefer little details that could almost go unnoticed, such as a painted rock or a flower planted into a hollow tree trunk.  My herb planter is an old utility sink.
 I'm sad to say Betty cannot inspect our progress on this project because she is an indoor cat... but she did supervise us dying Easter Eggs last weekend, so here she is approving that project:
Thanks for following us and our dirty work!

Monday, April 25, 2011

Guest Bedroom Decrapification

So, today I had a rare day off/ home alone day- so decided to tackle a project which had been nagging on my mind for far too long.  Listen closely if you have any "dumping ground" in your home- whether it be an entire room (like me) or even a drawer or closet.  I am embarrassed of the "before" pictures. (Mind you, in the before pictures, I actually dumped out some boxes on top of the bed since I was prepared to organize and purge my heart out.) This spare room for us has very rarely served as a functional guest room, but more commonly is known as the "catch all" or "half finished project graveyard." When it has served as a functional guestroom, it's because I moved all of the junk down into the basement, and I am tired of moving this mess around. I use it to keep all of my craft items, items I mean to give away/ get rid of, and those that just haven't found a home yet.  I have been reading many blogs lately by women who keep fabulous, chic, vintage, eclectic and "upcycled" homes which have encouraged me to tackle this project without spending a dime.  (Usually I convince myself that if I go buy more stuff that it will be easier to keep the things I already have.  Is anyone with me here- it sounds crazy when I actually put it on paper.)  I love buying organizational items, boxes, bins, baskets, space bags and any other contraption which makes me feel like life would magically be so organized once that item is in my home.  Then I realized I was drowning in these such things, and still had a mess.  (grrr)  So it was time to roll up my sleeves, and get dirty. 
Here's some before & after photos of my work today:
Look how good my intentions were!  There are boxes waiting to go to Goodwill!  There are items I posted online to sell & get rid of! 
After:

A little more inviting, right?  I dusted, swept, washed the bedding... and my personal favorite, ORGANIZED.

Then, there was my craft closet...

Wow, Inspiring, right?
After:
My ribbon collection was one thing I always felt like I had to buy an organizer for- but today, not a dime, remember!?  I went online and got some great free ideas with items I already had- I used ribbon to display my ribbon, and clothespins to hold my bows onto another ribbon, shown here:
So, in about 8 hours, I feel pretty good about checking this task off the list.  (I have a few minor details which need to be completed, such as putting random pics into albums, etc.)
The key for me with keeping it clean is not moving things back in there.  I packaged up my wedding dress to be sent off for cleaning / preservation.  I have already called the ARC to come pick up my giveaway items so they don't sit around in my way until I shove them back into the guest room. Things that have a home elsewhere in the house have already made their way back. 
And, last but not least...
Betty has approved this room for visitors!


Wednesday, April 13, 2011

Sew Simple? Somebody lied to me! (Kitchen Makeover Part II/ Complete!)

Hello my fellow crafters- and wannabe crafters!  This project began well beyond my area of expertise- might I even say, in wannabe status? But it ended up a great lesson in patience and desire to enhance my sewing skills even further.  I began with my sewing machine (Necchi 4757) which was one of the sweetest gifts I've ever received (was a wedding gift) from two of my fabulous girlfriends.  Mom gave me my great-grandmother's sewing box with all of the beginning essentials for Christmas and then I bought this "Sew Simple" book.  (Ha!)  All are pictured above as my "getting started supplies."  The next step, and my personal fav was to pick out fabric.  I didn't have anything too specific in mind... but set out to find a white, black and maybe yellow fabric for the kitchen curtains I was determined to make.

Here's me at the fabric store with the fabric I ultimately chose.

I know, it doesn't look very black or yellow, does it?  Once at the fabric store, I felt like black and white would be too "matchy matchy" with the rest of the kitchen, so went with something that would accent and flow instead of be uniform.  But that's just how I roll. What about you- do you prefer "matchy matchy" or a flow?  For instance- I am an event planner by day and my own wedding had a "collection" of blues, browns and bright greens- while other brides whom I work with often prefer that every detail of their wedding be the same shade of "David's Bridal Eggplant" or "Brushed Nickle Silver." 

THANK GOODNESS for ironing seams, pins, and really good fabric scissors!

This is my final panel in progress!  (Needle don't break now!)  I have four windows in the kitchen which needed to be covered- so with two panels each- I sewed a total of 8 panels.  (And am now proud to call myself a straight-hem pro!- Just don't ask me to sew on a curve!)

Mom brought over some Ric Rac on one of her 5 trips up to my house to help me when I wanted to throw the whole project away... I've used some here as tiebacks...
(Also, note how close the neighbor's house is next door- we needed the option of privacy... coffee in your skivvies at 5am anyone?)

I also saw in a book called "Farm Chicks" that they lined open air pantry shelves such as ours with Ric Rack.  I affixed it with those craft dots that you use for scrap booking.

A close-up of the Ric Rac shelves.


Also- I'm very excited to show you the bakers rack seen here.  Originally I had posted that we were going to refinish one- but my Mom found this one on super ultra clearance at Pier 1 Imports, so she spoiled us and surprised me with it one day.  Also- See the curtains back there?

Here's over the sink.  At first I was concerned about the greens clashing- but I think it works since the kitchen has that "Vintage Chic" feel.  Generally, my decor style is not country- but there is something to be said about cooking bacon on a Saturday morning in a kitchen that feels like Grandma's.  (And my Grandma Eastman's kitchen is eclectic and vintage as they come!)

The newly white cabinets with the black hardware, the Baker's Rack, the curtains, the hand-painted spice rack, it's officially DONE!  (For now.)

And of course, the most important part of the project...
Betty has approved this kitchen for use. 

*A note about sewing*
  I am really looking forward to some new projects.  I have decided about 1 project a month would be manageable and keep me learning at a steady pace.  If you too are a novice sewer, I have the following advice:
1.  Befriend your manual!  I despise few things more than reading instructions/manuals, but it's necessary and you won't become "one with your machine" without using it.

2.  Keep everything together and neatly organized to easily start, resume and put away projects.

3.  Sew often- even my Mom and Grandmother had both forgotten the fundamentals since so many years had passed since they'd used a machine.

4.  Take accurate measurements- and then consider whether your fabric has a direction- specific pattern or not.  Luckily- my measurements worked even though I didn't take this into account... (Ie; up & down, side to side, etc.)

5.  Have fun!  And if it stops being fun, walk away and resume later!  I'm a "finished product" kind of gal- I like to sit down, do, and be finished! But I have learned with a sewing project, you often have to walk away and come back later.  If you get rushed or frustrated, needles break and bobbins go crazy.  Breathe.

Thanks for following me on this project- it basically consumed my 5 day staycation- but it's done! 


Saturday, March 26, 2011

Kitchen Makeover Part I

Since we've been on a painting roll, we decided to tackle the kitchen as well.  As mentioned in our first post, the kitchen has always been a bit of a frustration for us because of the thick layers of yellow paint on seemingly every surface, the lack of a dishwasher and the awkward counter space.  We have yet to remedy the missing dishwasher nor the awkward counter space- but this past week, Brian did tackle some of the massive yellow overload.  Since the kitchen has white and black tile and some awesome yellow, black and green tile counter tops & back splashes, we did want to keep some sunny yellow in there.  Just not everywhere.  See below for some pics of the kitchen on the day we moved in... even though its small & has an odd floor plan, it has new appliances, a window above the sink (which I love!) and is overall pretty cute, right?


This past week, Bri set out to paint all of the cabinets white.  We removed all of the hardware and spray painted them black to match the accents.  We removed the doors from one set of the cabinets for open access to vases, dry baking goods, etc and to get stuff up and off of the limited counter space we have.  See some "after" photos below:


You might notice the spice rack we hung next to the open cabinet space.  I am particularly excited about this piece.  We found it at Goodwill in Tacoma for $3.99- I spray painted it black to match the kitchen and then sanded it down to give it the distressed look.  In case you missed it in the other picture, a close up is here:

I am on the lookout for some great glass canisters to put in the open cabinet for dry goods like flour, pasta, sugar, etc.  We are inheriting a baker's rack from my parents which is literally falling apart, so we look forward to restoring it and using that to help fix the counter space problem.  We will be sanding it down, painting it black and affixing it to the wall for added support.  Before & after pics to follow of that project. 
PS- When are you coming over to enjoy a refreshing beverage in our new/ vintage quaint kitchen!?

Sunday, March 20, 2011

A few signs of Spring!

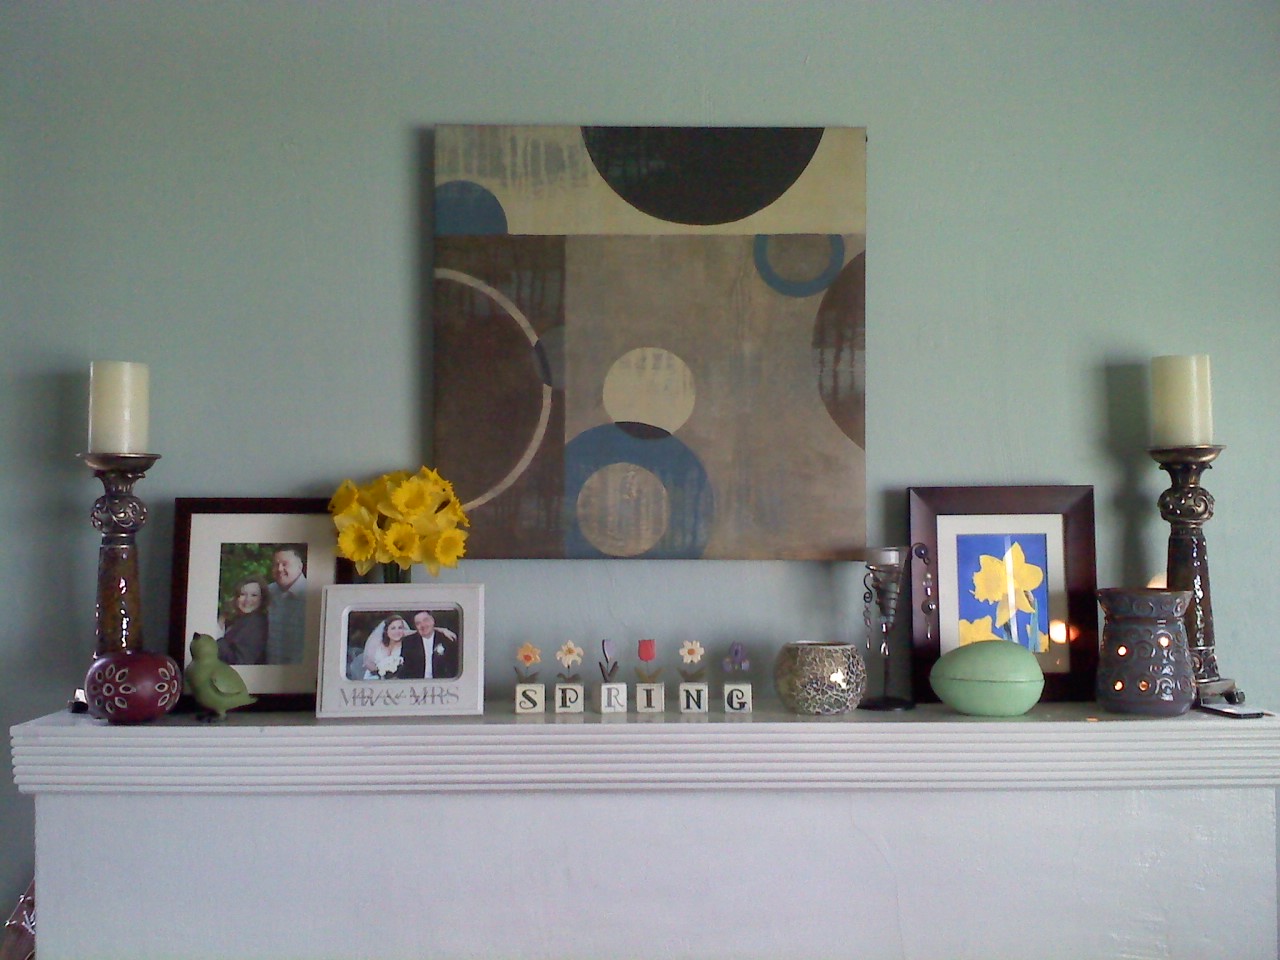
Happy Spring! I am so excited for gardening and barbequing, suntans and margaritas that I can barely contain myself!  A few small projects have been taking place around the house, so I figured it was time for a small update.  I pulled out some of my Spring decor on Friday (some pictured above)-and love looking at the hints of the season ahead.  We received the digital photo frame (pictured) as as Christmas gift from my brother last year.  I am constantly making new slideshows to play on it throughout the year.  I usually use Google Image and find seasonal images which I love watching scroll by.  For example, in the winter time- I loaded images of snowflakes, beautiful gifts, twinkle lights, etc.  At Halloween, it held spider webs, candy, haunted houses, etc.  During Bri's birthday week- I downloaded all sorts of things which Bri enjoys from Happy Birthday images to pictures of  Jaw Breakers, Marissa Tomei and Seahawks logos.  Of course, right now I am enjoying photos of flowers blooming, meadows of wild flowers, sunny gardens, rainbows and all things Spring.  In addition to the slide show, I love having the fresh daffodils in the house.  Admittedly, these are store-bought, but the tulips on the porch (from last year's bulbs) are desperately trying to bloom.  They are shown below, and I look forward to seeing the flowers bloom- SOON!


Sunday, March 13, 2011

Paint Project #1, Complete


We survived our first painting project!  I really can't take much credit through, since most of last week I was fighting the flu, so I never even so much as picked up a paint brush. Big thank you to Bri for making this happen, and doing such a damn good job!  Sometimes when I see how meticulous, detailed and thorough he is, it makes me crazy that someone out there has not hired him yet!  I know I am biased- but he's an amazing worker and I'm glad I have him to complete my honey-do lists!  (As you'll see below, Betty (kitty) also stepped in to help and supervise a bit as well.)

A few touches before the project got started to see how it looks in different lights...

Betty has approved this paint tray for use.

Gulp!  Here we go!

Taping sucks.

Hmmm, Betty needs to check this out- every last inch of it!

Finished product.  We are very happy with the subtle, yet overall dramatic difference.  It feels polished, clean and soothing.  I'd say it was a success for a first time project!

Another view of the livingroom.  We like the "Robin's Egg" feel of the walls and how they compliment the dark brown furniture and dark wood furniture & blinds. 

So- what do you think!?!  And, do you have any painting experiences worth sharing? Please comment them here!  We are thinking about tackling the kitchen next- particularly painting the cabinets/ new harware/ walls.  Advice?  Dos?  Donts?  Help us out!

Wednesday, March 9, 2011

Painting Fever - (No pun intended since I'm fighting the flu)

So, we are about to embark on our first ever painting project!  (er, should I say, Brian mostly, is about to embark on this project while I am at work.) We've been busy over the past few weeks learning the ins and outs of home-buying and meeting with landlords and credit unions,etc.  While we aren't quite to the paper-signing stage, we are ready to take some steps to making this house a little bit more reflective of our home.  We are going to be painting our living room/ hallway area first, and I've posted "Before" photos above.  A hint to make your brain hurt until the "after" photos are posted-  the name of the color: "Shaded Silver Moss" 
When I grow up, I want to name color crayons & paint swatches.